


Working on a modern JavaScript application powered by React is amazing until you realize that there are a couple of problems related to rendering all the content on the client-side. First, the page takes longer to become visible to the user, because, before the content loads, all the JavaScript must load, and your application needs to run to determine what to show on the page. Second, if you are building a publicly available website, you have a content SEO issue. Search engines are getting better at running and indexing JavaScript apps. The solution to both of those problems is server rendering, also called static pre-rendering. Next.js is one React framework to do all of this in a very simple way, but it's not limited to this. It's advertised by its creators as a zero-configuration, single-command toolchain for React apps.
- Next.js aims to have a best-in-class developer experience and many built-in features, such as:
- An intuitive page-based routing system (with support for dynamic routes)
- Pre-rendering, both static generation (SSG) and server-side rendering (SSR) are supported on a per- page basis
- Automatic code splitting for faster page loads
- Built-in CSS and Sass support, and support for any CSS-in-JS library
- API routes to build API endpoints with Serverless Functions
The main features provided by Next.js
- Hot Code Reloading: Next.js reloads the page when it detects any change saved to disk.
- Automatic Routing: Any URL is mapped to the filesystem, to files put in the pages folder, and you don't need any configuration.
- Server Rendering: You can render React components on the server-side, before sending the HTML to the client.
- Automatic Code Splitting: Pages are rendered with just the libraries and JavaScript that they need, no more. Instead of generating one single JavaScript file containing all the app code, the app is broken up automatically by Next.js in several different resources.
- Prefetching: The Link component, used to link together different pages, supports a prefetch prop that automatically prefetches page resources (including code missing due to code splitting) in the background.
- TypeScript Support: Next.js is written in TypeScript and as such comes with an excellent TypeScript support
Setting up Environment
System Requirements:-
Node.js 13.0 or later
Check with running node -v in your terminal, and compare it to the latest LTS version listed on nodejs.org.
After you install Node.js, you will have the npm command available in your command line. If you have any trouble in installing node
Refer to this: hashnode.com/post/nodejs-on-windows-how-to-..
Using create-next-app
If you're familiar with create-react-app, create-next-app is the same thing - except it creates a Next app instead of a React app, as the name implies.:
npx create-next-app # or yarn create next-app
If you want to start with a TypeScript project you can use the --typescript flag:
npx create-next-app --typescript # or yarn create next-app --typescript
The command asks the application name (and creates a new folder for you with that name), then downloads all the packages it needs (react, react-dom, next), sets the package.json to:
"scripts": {
  "dev": "next dev",
  "build": "next build",
  "start": "next start",
  "lint": "next lint"
}
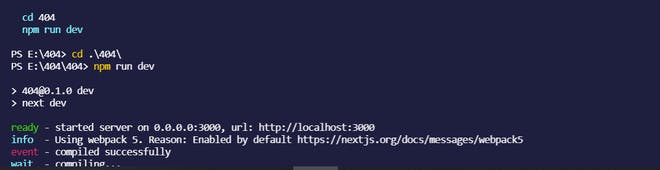
and you can immediately run the sample app by running npm run dev at localhost:3000
Manual Setup
Install next, react, and react-dom in your project:
npm install next react react-dom # or yarn add next react react-dom
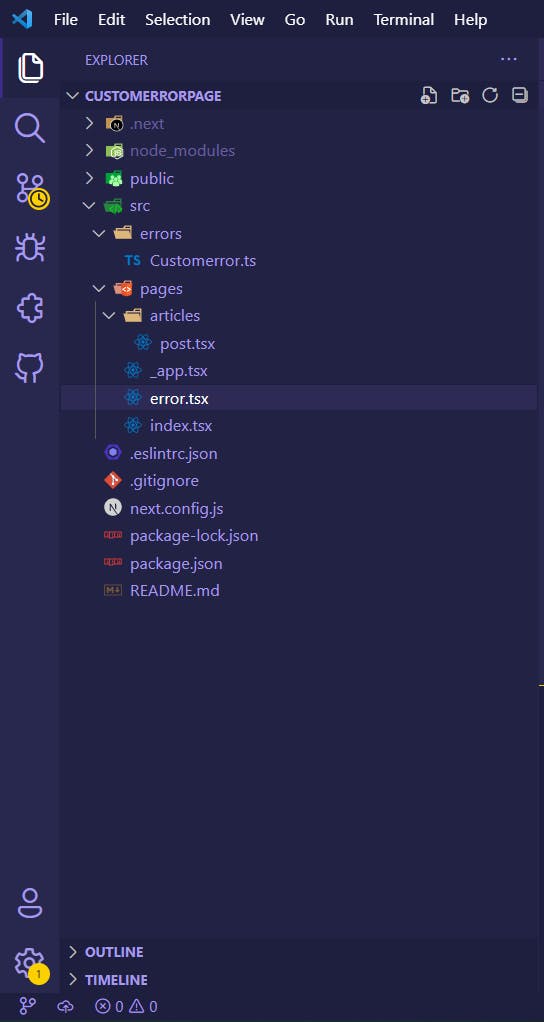
3 Simple Steps to Create a Custom Error(404) Page:
Step 1 - Creating The Custom Error: When creating your custom error you can add as many parameters as you want.
//  pages/errors/CustomError.ts
class CustomError {
  public readonly statusCode: number;
  constructor(statusCode = 400) {
    this.statusCode = statusCode;
  }
}
export default CustomError;
Step 2 - Calling the custom error: first we need to create a page with getStaticPaths() and getStaticProps() to handle the dynamic SSG paths. We can leverage the opportunity to handle getStaticProps() before the initial rendering of the page, throw an error inside it, and inject our response with the status code.
// JSX code for [post].jsx

export const getStaticPaths = async () => {
    return {
      paths: [],
      fallback: "blocking",
    };
  };

  export const getStaticProps = async (context) => {
    const { post } = context.params;
    const response = await fetch(`mydomain.sample/articles/${post}`);
    const product = await response.json();

    if (!product) {
      throw new AppError(404);
    }

    return {
      props: { data: product },
      revalidate: 300,
    };
  };
A full working sample of the code is given below:
// src/pages/articles/post.tsx
import React from "react";
import { GetStaticPaths, GetStaticProps } from "next";

// Import the custom Error you created for
import AppError from "../../errors/Customerror";

interface FullProductProps {
  productData: {
    title: string;
    price: number;
  };
}

const FullArticle: React.FC<FullProductProps> = ({ productData }) => {
  return (
    <div>
      <h1>{productData.title}</h1>
      <h2>U$ {productData.price.toFixed(2)}</h2>
    </div>
  );
};

export default FullArticle;

export const getStaticPaths: GetStaticPaths = async () => {
  return {
    paths: [],
    fallback: "blocking",
  };
};

export const getStaticProps: GetStaticProps<FullProductProps> = async (
  context
) => {
  const { post } = context.params;

  const response = await fetch(`http://localhost:3001/articles?post=${post}`);

  const products = await response.json();
  const selectedProduct = products[0];

  // throw the custom error when fetch does not receive the expected data
  if (!selectedProduct) {
    throw new AppError(404);
  }

  return {
    props: {
      productData: selectedProduct,
    },
    revalidate: 300,
  };
};
Step 3 - Handling the Error: Every error thrown inside your pages will be redirected to the main error page (error.tsx ) inside your pages folder.
To handle our custom error we should check its status code inside the getInitialProps function. First, we will check the status code returned by default from Next and then check if there is a custom code generated by our application.
import React from "react";
import { NextPage } from "next";

interface ErrorProps {
  statusCode: number;
}

const Error: NextPage<ErrorProps> = ({ statusCode }) => {
  return (
    <div>
      <h1>Error: {statusCode}</h1>
    </div>
  );
};

Error.getInitialProps = ({ res, err }) => {
  const currentStatusCode = res?.statusCode || 500;
  const throwedStatusCode = err?.statusCode;

  const statusCode = throwedStatusCode || currentStatusCode;

  if (res) {
    // Here is where the magic happens
    res.statusCode = statusCode;
  }

  return { statusCode };
};

export default Error;
With 3 simple steps, you are able to return any status code.
